Green water looks like one problem, but treating the wrong cause wastes shock and another day. The fix is a sequence: identify whether you have algae or a metal tint, test the water, remove debris, brush every surface, raise chlorine as your product label directs, filter continuously, and retest before adding anything else.
Quick answer
Most cloudy or slimy green pools have active algae and too little effective free chlorine. Test free chlorine, pH, total alkalinity, and CYA before dosing. Remove debris, brush, add compatible chlorine at dusk according to the label and pool volume, run the filter continuously, clean it as pressure rises, and retest until chlorine holds and the bottom is visible.
What kind of green is it?
Color tells you how urgent the cleanup is, but clarity and texture tell you more about the cause.
- Light green and slightly cloudy: algae is likely starting. Fast brushing, corrected chlorine, and steady filtration may stop it before it becomes opaque.
- Pea-soup green: expect a larger chlorine demand, more dead algae, and frequent filter cleaning. Plan in days, not one evening.
- Dark green and opaque: do not swim. You cannot see a person on the bottom, and the filter may load quickly with debris.
- Clear green with no slippery film: suspect copper or another dissolved metal, especially after adding a copper algaecide, filling from a well, or changing pH sharply.
- Isolated black or dark spots: this is not the same cleanup as free-floating green algae. Brush a small area and get help if the spots stay rooted.
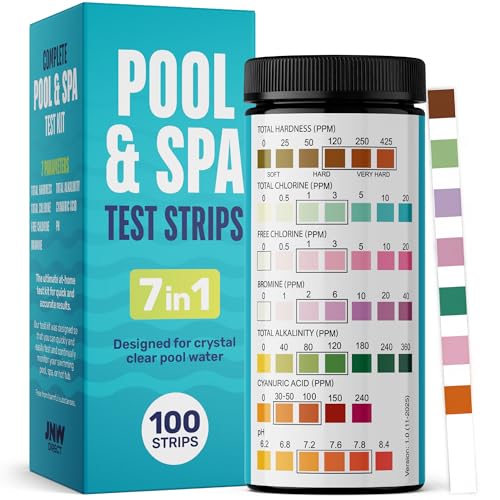
A quick 7-in-1 strip check helps show the broad trend. If the colors are hard to separate or the pool is badly green, confirm the result with a liquid kit or a reputable pool-store test before making a large correction.
What this is not
Green water does not automatically mean “add more shock.” Chlorine loss is common, but the root problem may be high CYA, a failed pump, a scaled salt cell, metal in the fill water, or poor circulation. Clear green water after shocking can even point to oxidized copper rather than living algae.
Foam is different too. White or colored foam usually comes from soap, lotion, an incompatible algaecide, or aeration. A green stain on a step or liner is also not the same as green water. Rub the spot with a white cloth and compare the whole pool before choosing treatment.
Do not keep dosing because one strip square “looks low.” Read the strip inside its stated time window, compare all relevant parameters, and use the product label. Our pool water testing guide explains why free chlorine, pH, alkalinity, and CYA belong in the same decision.
Test before you dose
Get these numbers on paper:
- Free chlorine (FC): shows the sanitizer remaining right now.
- pH: affects chlorine performance and must stay within the product and pool-surface guidance.
- Total alkalinity (TA): helps explain unstable pH.
- Cyanuric acid (CYA): changes how much chlorine is needed and how quickly sunlight removes it.
- Pool volume: every dose depends on gallons.
- Filter pressure: compare it with the clean-filter baseline.
Take the sample away from returns, skimmers, floating chlorinators, and recently treated water. Dip to elbow depth when the kit directs it. If you just added a chemical, circulate for the label’s stated time before sampling again.
Use the chemical dose calculator only as a starting estimate. The concentration printed on your container, your measured volume, and the label directions control the real dose. The calculator cannot see an incorrect pool volume or an old reagent.
Decision tree: choose the right branch
If the water is cloudy, green, and slippery
Treat active algae as the leading cause. Remove debris, brush, correct pH if the sanitizer label requires it, then raise free chlorine with a compatible product. A cal-hypo shock is one option for many chlorine pools.
Skip cal-hypo if calcium hardness is already high, the surface maker warns against it, or the salt-system maker excludes it. Do not use dichlor repeatedly when CYA is already high; it adds more stabilizer. Liquid chlorine may fit those cases better if its label permits use in your pool.
If the water is clear but green
Pause before adding more chlorine. Review recent use of copper algaecide, heater corrosion, well water, and pH changes. A metal test or pool-store analysis can prevent a wrong algae treatment. Use a metal-control product only after the cause is supported and its label matches the surface.
Skip copper-based algaecide when copper is already suspected. Do not lower pH blindly to chase color; a large pH swing can worsen staining or damage equipment.
If circulation is weak or the pump will not prime
Fix circulation before expecting chemicals to clear the pool. Empty baskets, verify water level, inspect the pump lid seal, and check valves. Stop if the pump runs dry, trips a breaker, or leaks near electrical equipment.
Above-ground or inground?
Above-ground pools often have less water, so a one-pound dosing error has a larger effect. Confirm volume and liner compatibility. Inground pools may have deeper zones and more circulation dead spots; brush steps, ladders, behind lights, and the deep-end walls.
Saltwater or manually chlorinated?
A salt chlorine generator maintains a residual; it is not designed to rescue a heavy bloom quickly. Use a compatible manual chlorine source when the manufacturer permits it, then inspect cell scale, salt reading, output percentage, flow, and runtime. A tablet or liquid-chlorine pool still needs the same test-brush-filter loop.
What you’ll need
Gather the basics before opening chemical containers:
- A test method that reads FC, pH, TA, and CYA
- A brush suited to the pool surface
- A leaf rake or skimmer net
- A working pump and filter
- A pressure gauge with a known clean baseline
- Chlorine compatible with the pool, surface, and current chemistry
- Gloves and eye protection
- A notebook or phone log for readings and doses
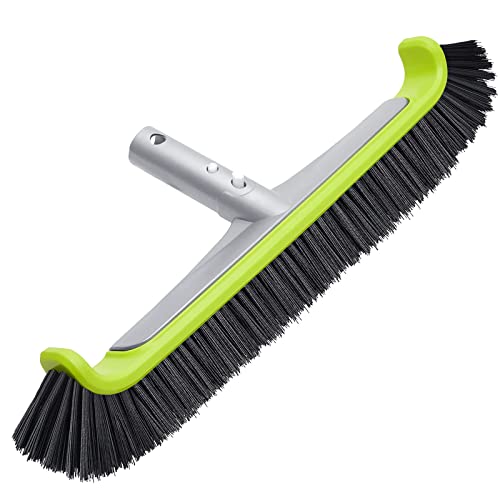
A wide pool brush saves time on broad walls. Skip a stainless-steel brush on vinyl or fiberglass unless the surface maker explicitly allows it. For daily trend checks, multi-parameter strips are quick; use a liquid kit when the treatment depends on a narrow reading.
Step-by-step: clear the pool in the right order
1. Remove leaves and debris
Empty skimmer and pump baskets. Scoop out leaves, twigs, and clumps from the floor before they consume more chlorine or clog the filter. If you cannot see the bottom, work slowly with a leaf rake and keep swimmers out.
2. Brush every surface
Brush walls, steps, ladders, corners, and the floor. The goal is to break the protective film so chlorine can reach the algae. A 17.5-inch brush fits broad areas, but use the material approved for your liner, plaster, tile, or fiberglass.
Brush before dosing, then brush again during cleanup. Pay attention to shaded areas and circulation dead spots. Do not rely on a robotic cleaner as the only brushing step during an active bloom.
3. Test and record
Test FC, pH, TA, and CYA. Write the time, readings, water appearance, filter pressure, and recent additions. A result page from the green-to-clear checklist can keep the sequence straight; if the readings do not make sense, a better test kit is more useful than another mystery bottle.
Cheap strips stored in heat or humidity can give muddy colors. Use fresh strips within the read window or confirm with a liquid kit. A sealed strip bottle works for quick checks when it has been stored dry and closed.
4. Shock according to the label
At dusk, add the selected chlorine product according to its concentration, label, pool volume, current FC, and CYA. Do not copy a universal “bags per pool” rule: bags vary in weight and active ingredient.
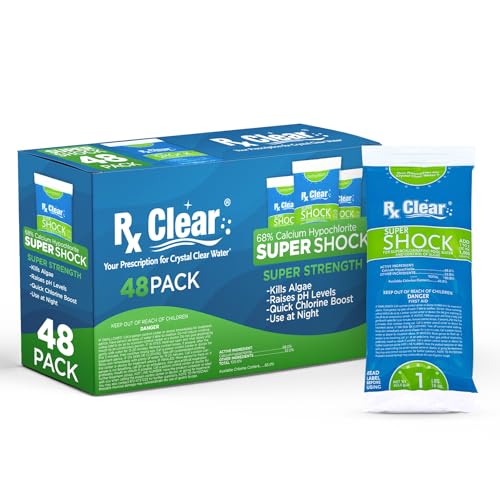
If cal-hypo fits the chemistry and surface, this shock format is intended for that role. Do not use it because the badge sounds right; read the container and compare calcium hardness first. Add one compatible treatment at a time and keep the pump running as directed.
5. Run the filter continuously
Keep circulation running through the cleanup unless the equipment maker directs otherwise. Watch the pressure gauge and return flow. If filter pressure is high, backwash a sand or DE filter or clean the cartridge according to its manual. A common trigger is about 8–10 psi above the clean baseline, but the filter maker’s instructions win.
Never operate a pump dry. Stop and troubleshoot if it loses prime, makes a grinding sound, leaks heavily, or trips electrical protection. Dead algae must leave the water; chlorine alone does not remove the fine particles.
6. Retest and repeat only what the numbers support
Retest FC and pH at the interval stated by the sanitizer and test-kit instructions. Brush again, note whether the color is fading, and clean the filter as debris loads it. The pool often moves from green to gray-blue and cloudy before it becomes clear.
If FC falls rapidly, algae or other organic material is still consuming it. If FC holds but the water remains cloudy, filtration may be the bottleneck. If the water turns clear green, return to the metal branch rather than adding more shock automatically.
Do not swim until the water is clear enough to see the bottom, readings are within the product label’s allowed range, and the equipment is working. “Looks better” is not a test result.
Safety notes (read this)
- Never mix different chlorine products dry, in a bucket, or in the same feeder. Incompatible chlorines can release heat and toxic gas or cause fire or explosion.
- Never pour shock through a skimmer that feeds an automatic chlorinator. Concentrated shock can meet tablet residue in the plumbing and trigger a violent reaction.
- If a label calls for pre-dissolving, add chemical to water—not water to chemical—and use a clean container reserved for that exact product.
- Wear gloves and eye protection. Open containers outdoors and stay out of the dust plume.
- Store chemicals dry, cool, upright, in original containers, and locked away from kids and pets.
- Keep acid and chlorine apart in storage and during dosing. Do not add them together.
- Follow the label’s circulation, waiting, and swimming instructions. Retest before anyone enters.
Common mistakes
- Treating every green tint as algae. Clear green water after chemical addition may be metal oxidation. Test and inspect before redosing.
- Using cheap strips past their useful life. Heat, moisture, expiration, and late color reading distort results. Confirm a surprising value.
- Adding algaecide, clarifier, shock, and acid together. You lose the cause-and-effect trail and can create unsafe combinations.
- Brushing once and ignoring the filter. Algae film regrows, while dead material clogs cartridges or raises filter pressure.
- Letting a salt cell handle the whole rescue. The cell may maintain clear water but recover too slowly from an established bloom.
What to buy only if needed
Start with testing, brushing, chlorine, and filtration—not a cart of additives. Our pool essentials section explains product roles before brands.
- Buy fresh test strips only if your current strips are expired or cannot read the parameters you need.
- Buy a surface-compatible brush if yours is worn, too narrow, or wrong for the finish.
- Buy cal-hypo shock only when calcium, surface, and sanitizer-system guidance allow it.
- Consider clarifier or flocculant only after algae is controlled and the product fits your filter. Some filters and pool setups should not use flocculant.
- Consider a metal sequestrant only when testing or history supports metals. It does not kill algae.
When to call a pro
Keep it DIY if: the pump primes, the filter pressure responds to cleaning, you can measure the core parameters, FC begins to hold, and the water changes from green toward cloudy blue.
Call a pool professional if:
- The pump will not prime, the filter is damaged, or a breaker trips
- Water loss suggests a structural or plumbing leak
- Black spots persist after correct brushing and sanitizer treatment
- The pool remains opaque after repeated label-directed treatment and working filtration
- A metal stain is spreading and you are unsure how the surface will react
- You are not comfortable handling chlorine or acid
Do not work on energized pool equipment with wet hands or standing water. Electrical faults are not a water-chemistry project.
Related
Start at the Problems hub when the symptom is still unclear. Use pool water testing to verify FC, pH, TA, and CYA, then track the repair in the green-to-clear checklist. The chemical dose calculator can estimate a starting amount, while the first-year pool owner guide helps prevent the next bloom. Browse Chemistry when one reading keeps drifting.
Key takeaways
- Cloudy, slippery green usually points to algae; clear green may point to metals.
- Test FC, pH, TA, CYA, volume, and filter pressure before dosing.
- Remove debris and brush before expecting chlorine to work well.
- Choose chlorine by label, concentration, pool surface, calcium, CYA, and system type.
- Keep filtering and clean the filter when pressure rises above its clean baseline.
- Never mix chlorines or send shock through a skimmer connected to a chlorinator.
- Retest until chlorine holds and the bottom is visible before swimming.